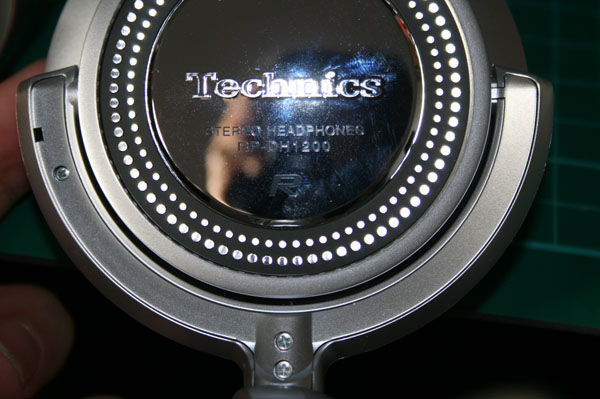
Dismantling Technics RP-DH1200
This is a guide to dismantling the mighty Technics 1200 DJ headphones. These headphones take quite a long time to dismantle but there are no nasty surprises other than a few spots of glue. They are very well made and robust like most technics products and that really sows as you pull them apart.
Here goes then
Stage 1 – Clear your workspace and get those phones out, You will need a couple of small phillips head screwdrivers, a craft knife, a coctail stick and a soldering iron.

Stage 2 – Remove the ear pad by unhooking a small section with your finger and working it round until it is fully removed.

Stage 3 – Unscrew the three screws holding the driver in place

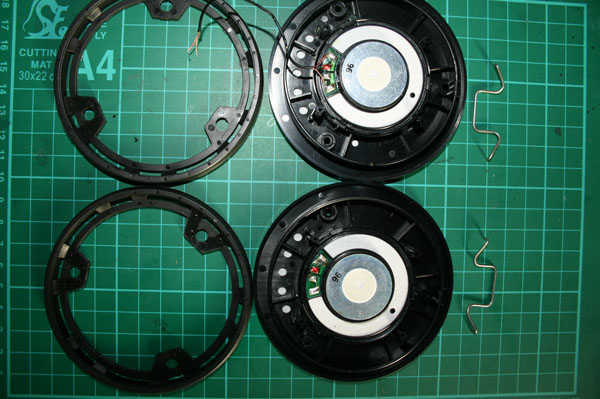
Stage 4 – Pop the driver off to reveal the goodies within

stage 5 – If you look closely you will notice that the thin cable that loops through the headband is glued to the the strain relievers inside the earcup. Use the craft knife the cut that away to release the cable.

Stage 6 – Unsolder the drivers.. Pull slightly on the cables and dab the solderpads with a hot soldering iron. This should release the cables from the drivers.

Stage 7 – gently pull on the rubber surround end it should start to come away. keep pulling it off section by section trying not to stretch it until it comes free

Stage 8 – Now just remove the bar springs by just pulling on them, they are not glued or anything, and you should be at this stage
Stage 9 – Unsolder the cable from the circuit board inside the cup. Then remove the glue again from the cable if you have not done so already.

Stage 10 – Unscrew the two screws holding the socket that connects to the detachable cable .Use your cocktail stick to lever the socket away from the body ( I use a cocktail stick because it wont scratch or dent the plastics. )

Stage 11 – Rotate the cup into this position. Then unscrew these three screws with a small phillips screwdriver. To stop you from losing the screws I recommend sticking them to a strip of masking tape… That wont roll away and are easier to find again.
Stage 12 – Lift up this end of the cover by poking your cocktail stick into the small rectangular hole. You only need to raise it a little, then slide the coocktail stick through the gap to hold it open.

Stage 13 – Now flip it over and you should now be able to pull the cam that was up against the bar spring away from the hinge. Then you can unhook the earcup from the lug on the other side.

Stage 14 – You can now gently pull the cup hinge away from the headband to release the cover you unscrewed in stage 11. You only need to move it around 1mm just enough to release the cover.. Don’t try to pull too hard or you may damage the cable. You can use the cocktail stick to lever it up if it is being awkward. You should be here…

Stage 15 – Now you can remove the cable from the run and the remove the cup hinge from the headband. Again be careful of the cable.

Stage 16 – Here is where we are at now… look at that

Stage 17 – You can now remove the metal ring from the face. There is a rectangular whole underneath through which you can poke the ring. It is stuck down with double sided sticky tape so a little force will release it. Then lever the the rest of it up. Again use the cocktail stick ( I know…. I used a screwdriver in the picture and I deserve a slapped wrist for that. )

Stage 18 – You can now undo these three screws to take the technics logo off. Underneath there is a small circle of sponge that stops vibration so dont lose that piece.


And that’s it… You can carry on and dismantle the headband and hinges but it gets dangerous from here on so you are on your own if you want to try that